Do you use standard contracts in your company or business?
With Templates, you can save templates of these contracts directly in ZapSign so you don't have to fill them out on your computer and upload them to the platform for each new client.
When sending, just fill out the template with your client's information or let them do it themselves!
Follow the step-by-step guide below.
Click to access a topic quickly:
- Step 1: Prepare the Template File
- Step 2: Upload the Template to the Platform
- Step 3: Set the signers
- Step 4: Set the Template Fields
- Send a Pre-filled template
- Send in Batch
- Additional Documents
- Advanced Options
Step 1: Prepare the Template File
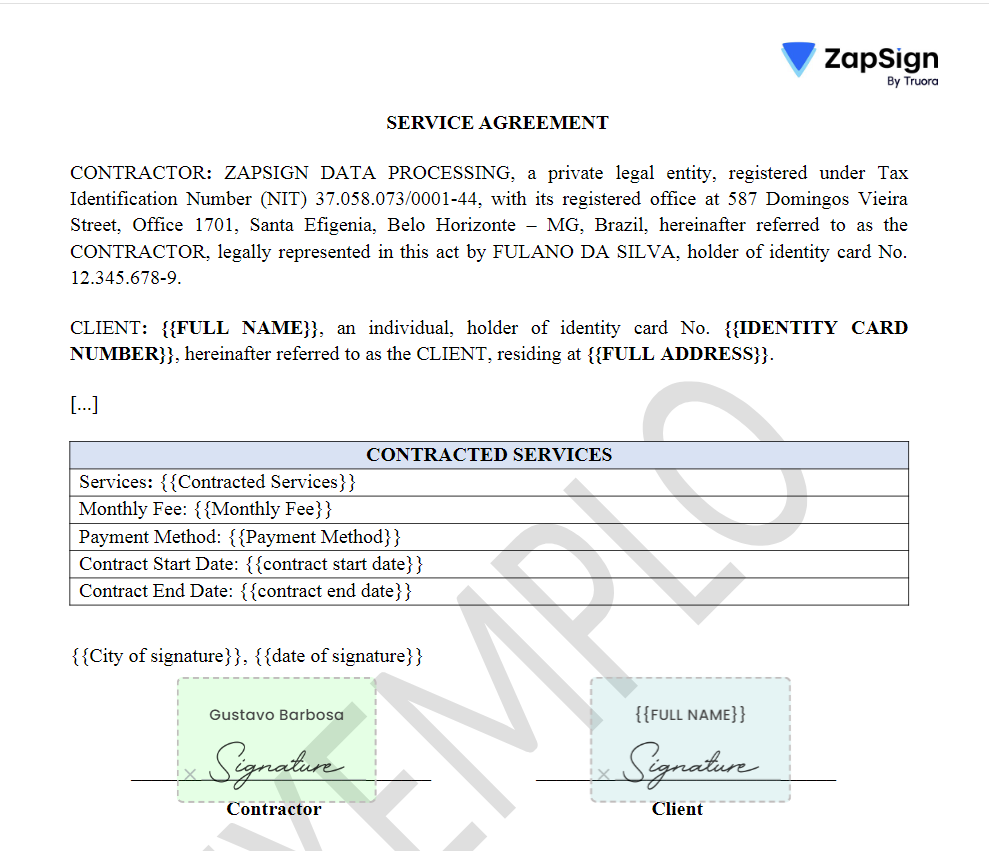
To illustrate this tutorial, let's take the example of the document below, which is a service agreement:
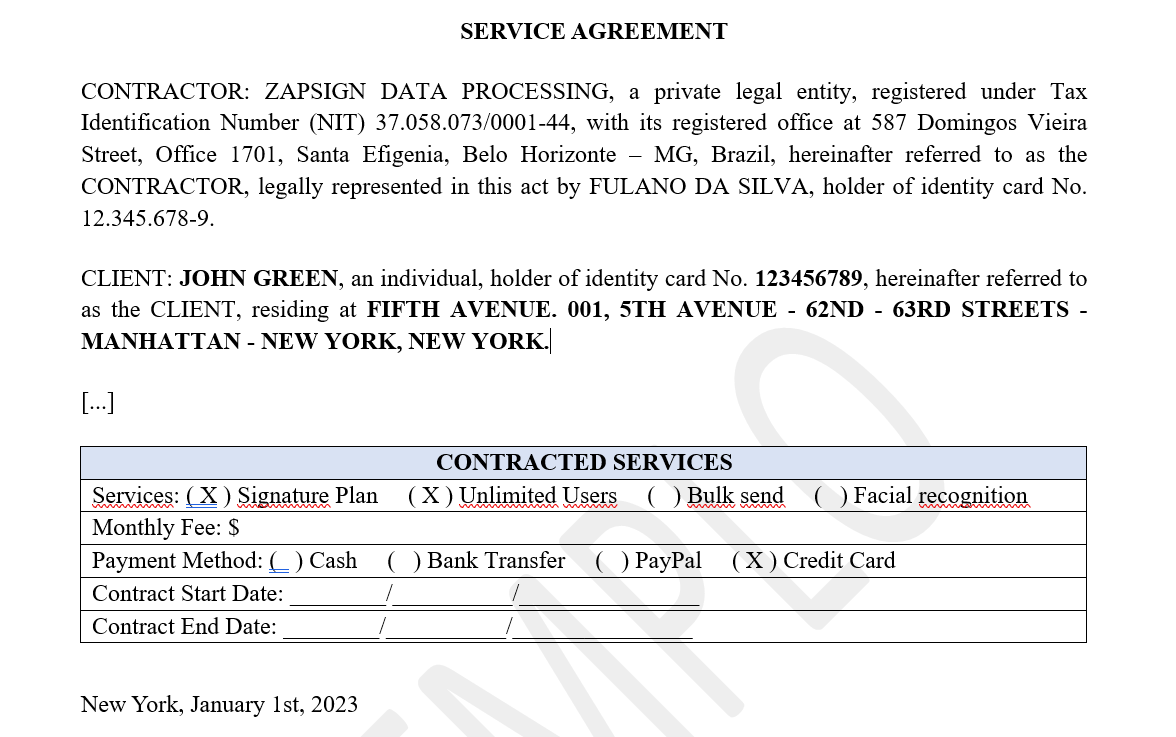
The bold and uppercase highlights are optional.
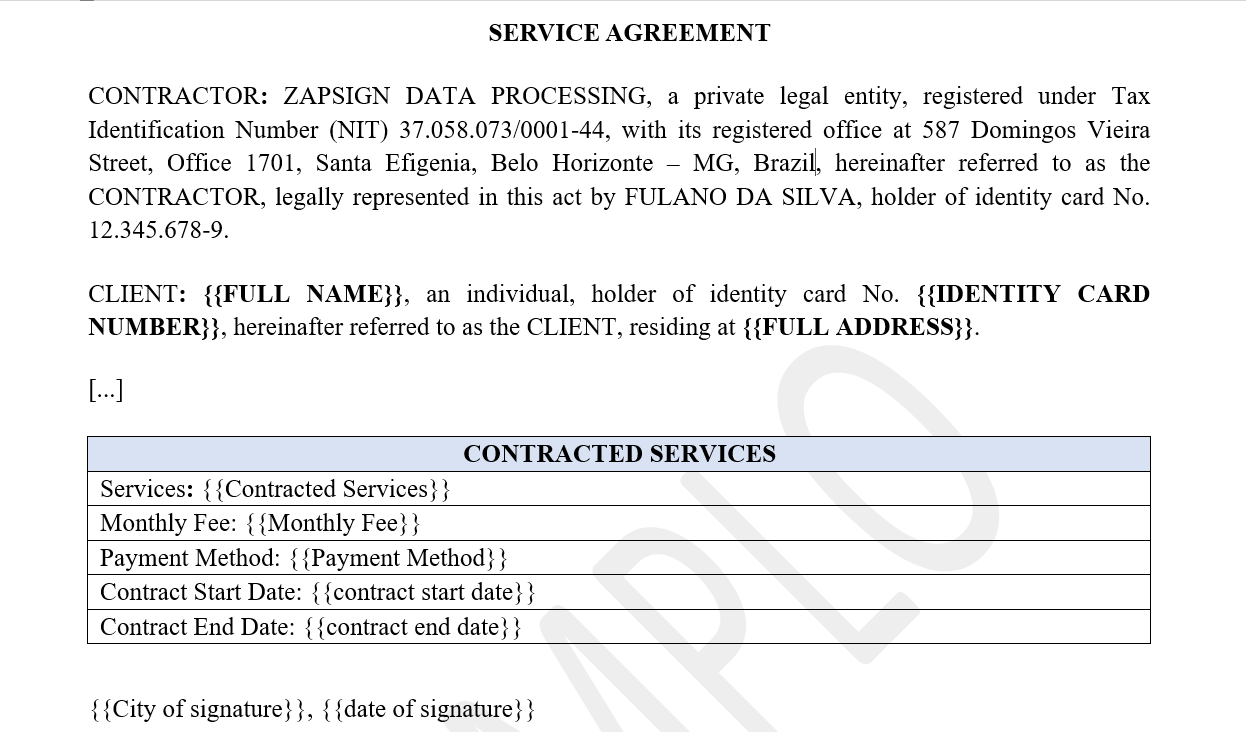
2. Save the file in "docx" format.Important considerations:
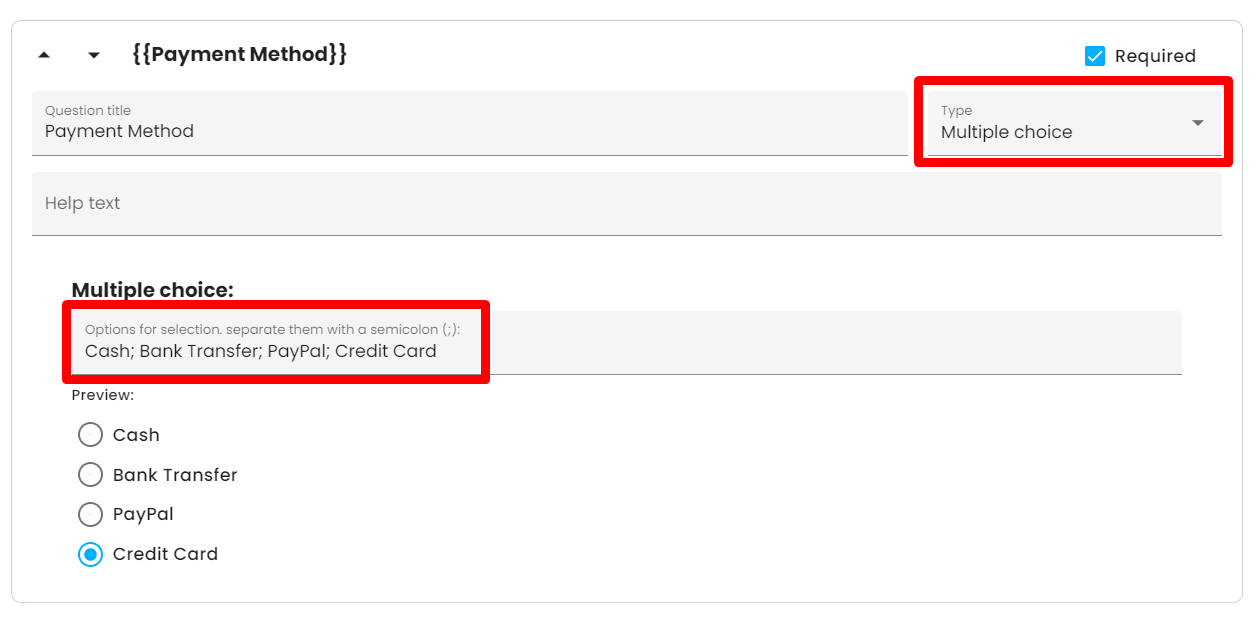
- For multiple-choice fields (such as payment method in the example above), place a single variable between curly braces in front of the question. The question's options (credit card, cash and bank transfer in the example above) will be created later in step 4.
- Pay attention to variable differentiation. If you used {{Full name}} for the contractor, use a different variable for other individuals, e.g. {{Witness Full name}}, otherwise, the filled response will mirror the name field for both individuals.
Step 2: Upload your Template to the Platform
1. In the left menu of your account, go to Templates, click the +Form/Template button, and choose Docx Template.
2. Give your template a name and click "Select Document" to browse your computer for the saved docx file.
The platform will read the file and automatically recognize the variable fields. If one of the fields is for the Full Name, just assign it to the question "Which of these fields is the signer's name?"
3. Click "Next" and voilà! You can now share the template link with those who need to sign it or open it in another browser tab to test!
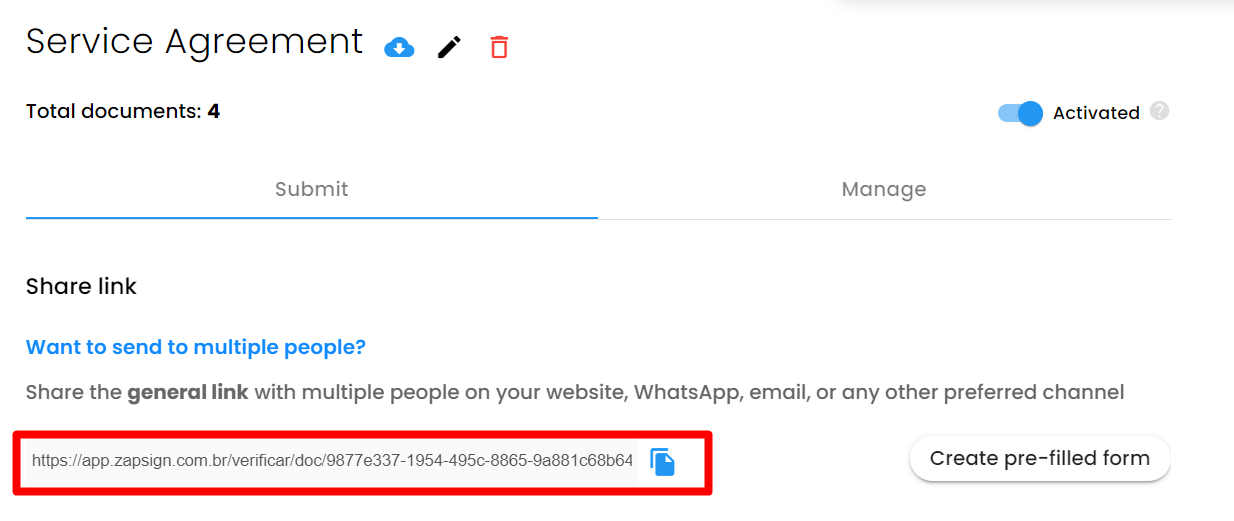
The template link is fixed, and an individual document will be created for each person who clicks on it. All created documents will appear in the "Documents" section of the left menu.
Check out the video below to see how a Docx Template is signed!
Golden Tip! To have documents created with the signer's name, edit your template's title and insert the same variable you used to designate the signer's name in the docx file, as shown in the example:
Step 3: Set the signers
Now that you have a template created, it's important to define who will sign it (contractor and contracted, for example) and also place the signature fields, if needed.
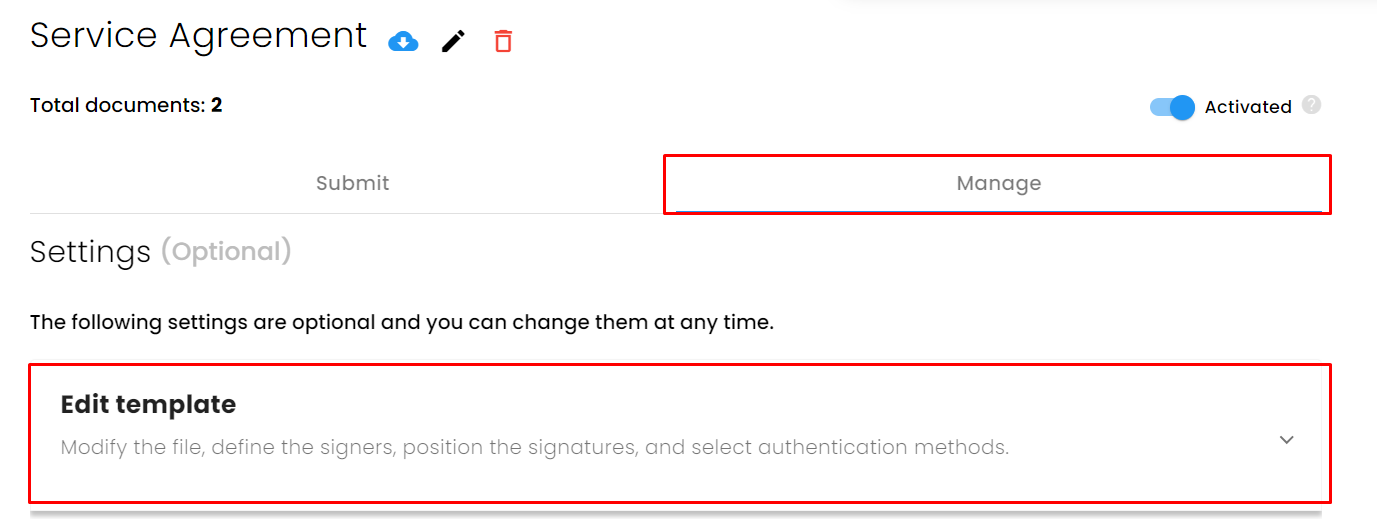
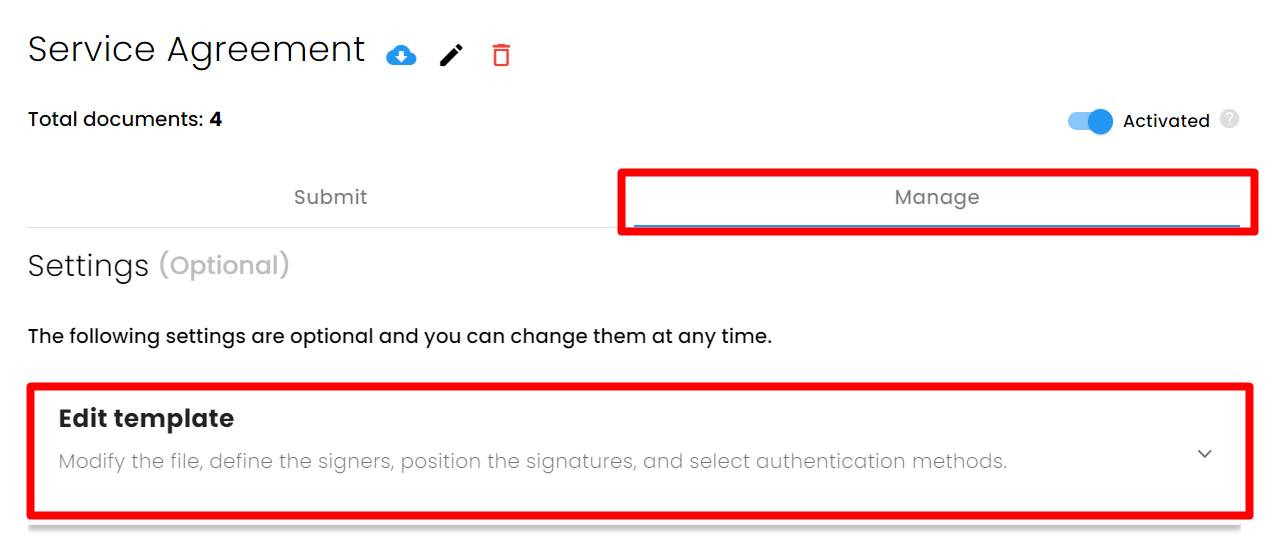
1. On the template's home page, go to "Manage" and click on the "Edit Template" tab.
There can be two signer profiles: Variable and Fixed.
The variable signer (always the first) will be different for each filled document (e.g., the contracting client), so you cannot assign any name to it.
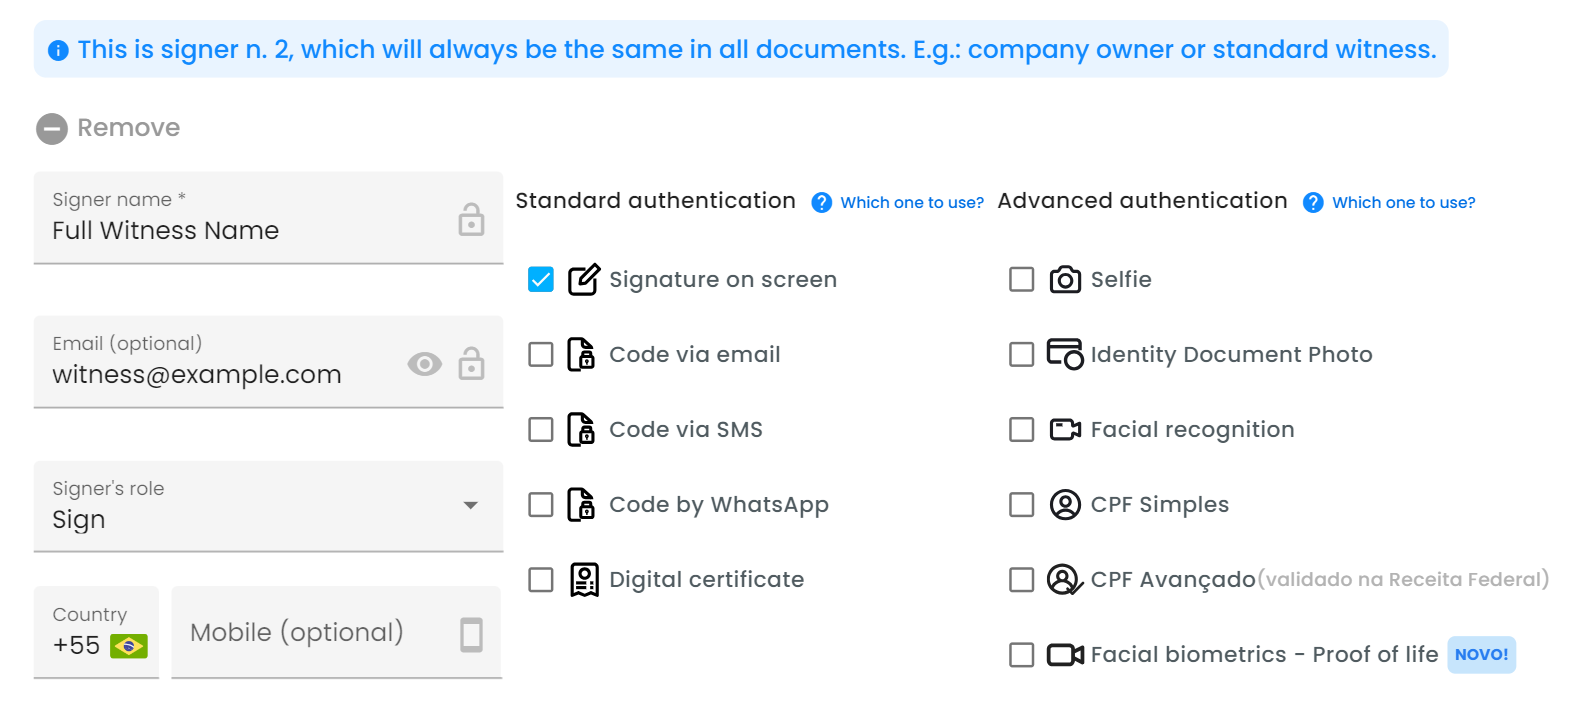
The fixed signer (from the second onwards) are those who will always participate in signing this template (the contracted party, for example). You can fill in the Name, Email, and Phone fields with the information of this person. Click the blue +Signer button to add more people if necessary.
2. Take this opportunity to choose the authentication methods for each signer profile (e.g., signature on screen + selfie + identity document).
3. Save the changes.
Optional: Turn Fixed Signers into Variable ones
You may have noticed that from the second signer onwards, the system requires the signer's information to be fixed in the template. However, we understand that this scenario is not always true and that data may be different.
To convert a fixed signer into a variable one, you can insert a dynamic field in the name and email of this signer, as shown in the example:
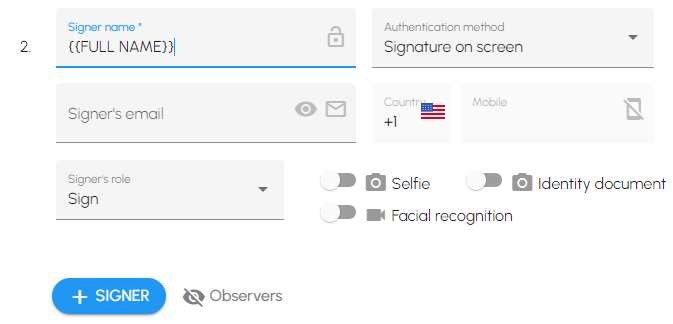
If you don't have these fields present in your document, you can fill them with any information just to save the changes:
Don't worry!
You'll be able to replace these fields with the real signer's information at the time of sending. To do this, use the "I want to fill out the documento before sending it" option in the template's send tab and activate the button "Add extra documents or edit signers."
You will be taken to the signers' editing screen, where you can replace the filled fields above with the information of the person who will sign:
Attention!
This is a temporary solution that may not work in all cases.
We are working to make it possible to choose between fixed and variable signers in an intuitive way.
Place Signatures on the template
1. On the template's home page, go to "Manage" and click on the "Edit Template" tab.
2. Scroll down the page to the "Place Fields" button:
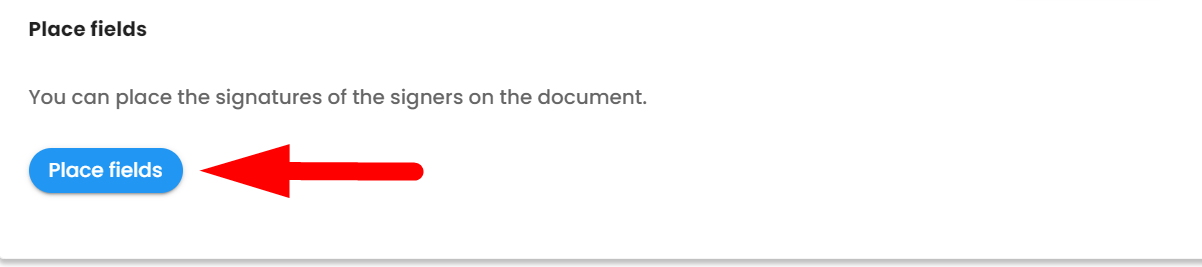
Your contract template will be displayed, and by clicking on the screen, you can define the location of the signature for each involved party:
Step 4: Set the Template Fields
In this tab, we can parameterize our fields, applying specific formats to them.
In the example below, if my variable is for date, I can choose "date" in the question type so that the slashes are automatically inserted when the signer fills it out in the form.
Fields without a specific format should be left as "Short Answer."
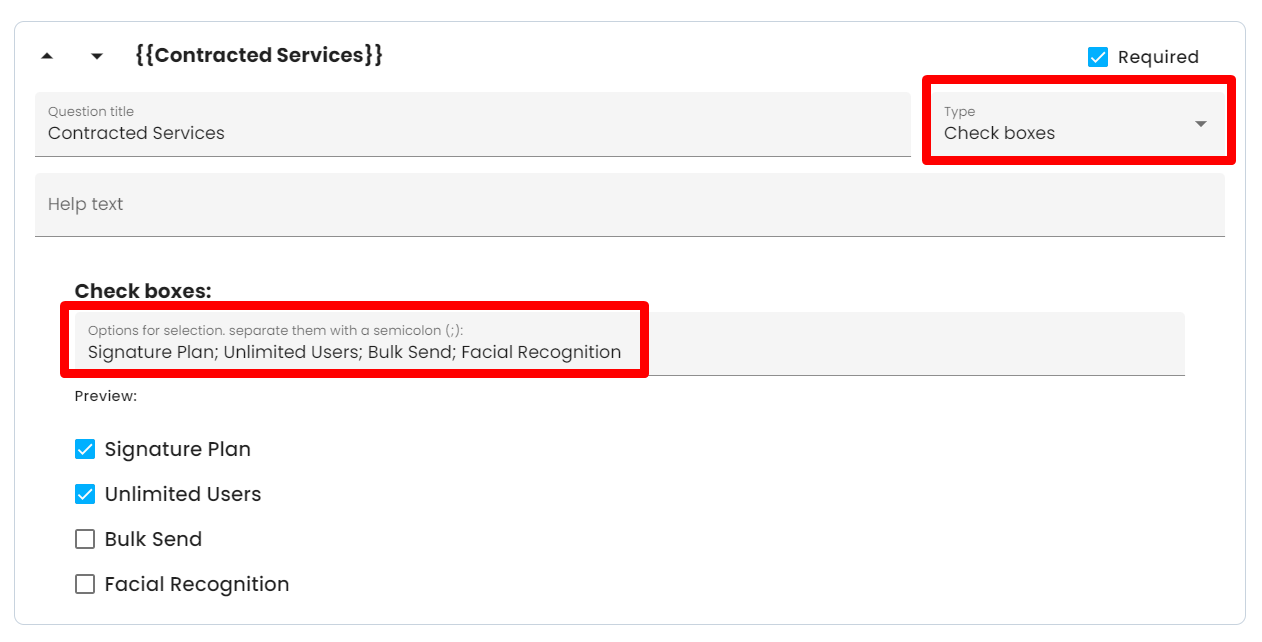
Optional: Insert Multiple Choices and Checkboxes into the Template
For fields where the signer needs to check an option, choose "Multiple Choice" in the question type (or "Checkbox" to allow them to check multiple options at once).
Below, define what these alternatives are, separating them with semicolons (;), as shown in the example:
Send a Pre-filled Template
If there are fields you don't want to leave open for the signer to fill out, click the "+Create Document" button within the "Send" section of the template and fill out the form with the desired information.
Upon receiving the document, the signer can fill out only the fields you left blank:
 Take this opportunity to attach other documents that the signer needs to sign along with the main template document. To do this, click "+Create Document," pre-fill its fields (if necessary), and activate the "I want to add extra documents to the envelope or edit signers" button to go to the document sending screen.
Send the template in batch
If you wish to pre-fill the template for multiple signers at once, this feature can be useful:
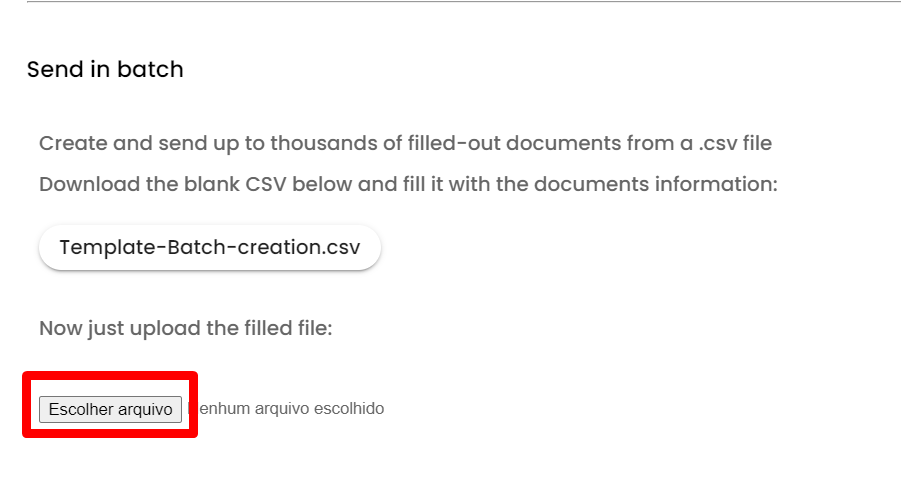
1. In the "Submit" tab of the Template, scroll down to "Send in Batch" and download the blank csv:
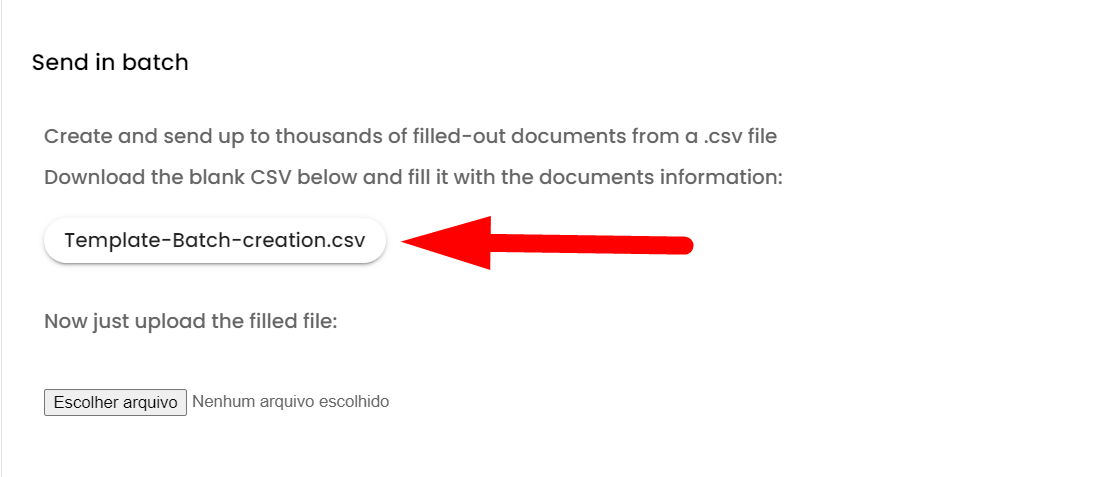
A spreadsheet will be provided with a column for each dynamic field you included in your docx in Step 1: Prepare the file:
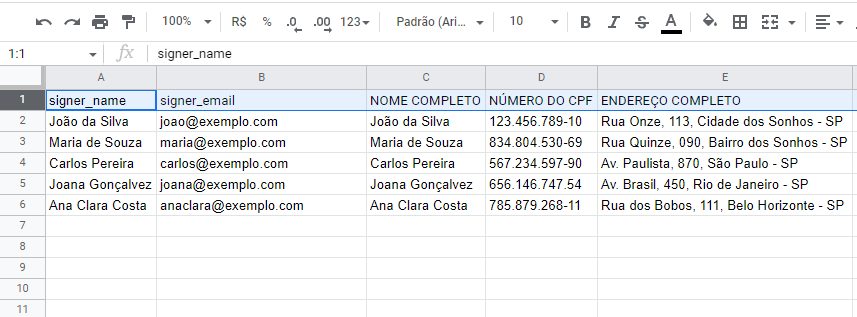
2. Fill in all the columns with the signers' information (up to 50 rows), save your spreadsheet in .csv format, and upload it back to the platform, now under the "Choose File" option.
3. Click "Send," and you're all set!
The platform will create the filled documents and automatically send them to each signer's email. Afterward, the documents will appear in the "Sent Documents" section in your left menu.
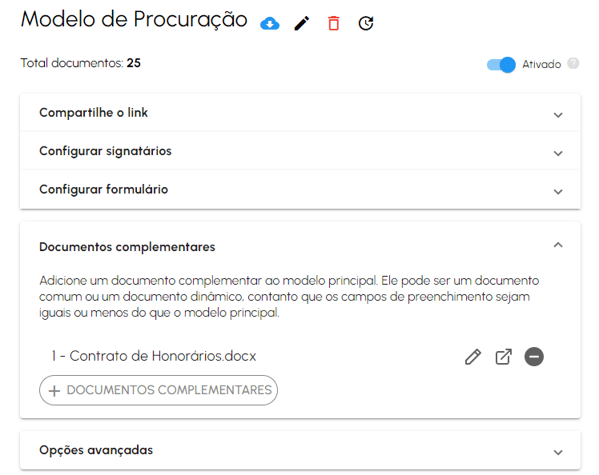
Additional Documents
Add complementary documents to always be signed alongside the main Template document, which means. They can be regular PDF documents or documents with dynamic fields too (as long as the dynamic fields are equal to or fewer than the main document).
The advantage of this feature is to enable your client to sign two or more documents using just a single link!
Advanced Options
In Manage → Advanced Options, you can:
- Request that your signer attaches extra documents important to you in the Template form (e.g., proof of address, passport photo, etc.).
- Redirect the signer to another page after signing the Template, like your business's Instagram page, for example.
- Moreover, in External Notifications, you can input the email addresses of individuals who should receive a copy of the documents signed through this Template.